This space is reserved for future Sponsors.
For more information go to
Sponsors & Benefactors
Page.
This space is reserved for future Sponsors.
For more information go to
Sponsors & Benefactors
Page.
|
The best riding tip I can give is to just
go out and ride. Once you have made your bike and or prosthetic
modification, you will find that your riding technique is the
same or similar as an able bodied rider. Basically, most of your set
up moves & timing for getting up, down, over, and around obstacles are
the same as any typical rider.
If you are a beginner or novice, I would highly
recommend contacting your local bike shops. They can help you
make any necessary bike modifications and inform you about local
bike clubs and group rides. You may want to look into lessons or
just buddy up with other mountain bikers & cyclists.
If you are interested in racing, you should
start by contacting your local bike shops and bike clubs for
information on local and regional events. From there, you can
enter the citizen category or purchase a race license and start
out in the beginner category. Where you go from there is
entirely up to you.
The best actual riding tip I can give to anyone regardless
of your physical disposition or ability is "MO is your
friend", that is "Momentum is your friend". Before I
go on, please do not confuse momentum with speed, they are two
different things. Too much speed will get you into as much or more
trouble than a lack of momentum.
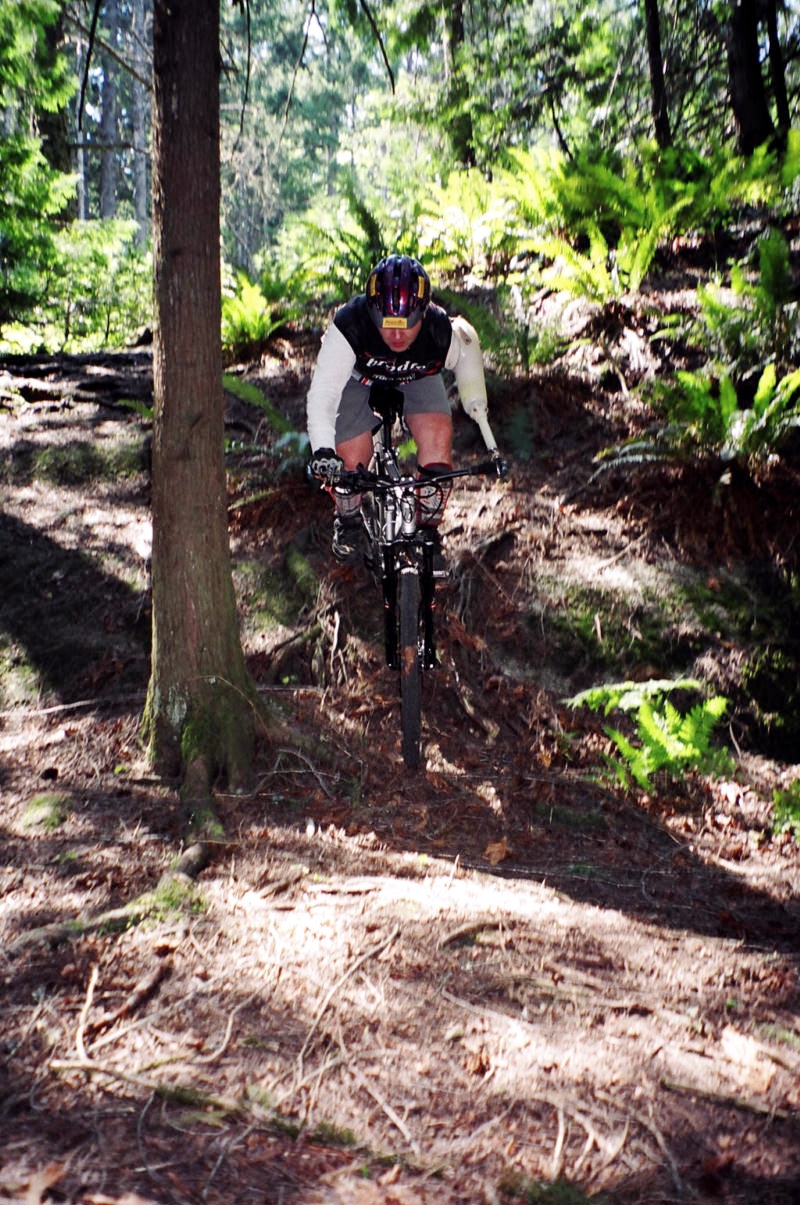
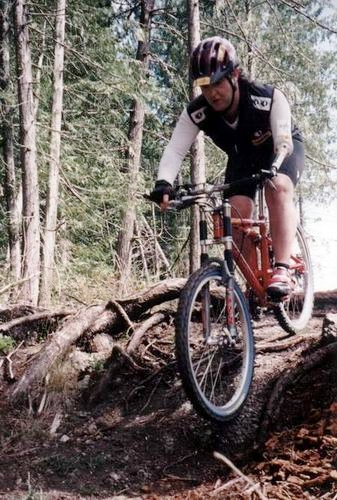
It doesn't matter if you are going down a steep
chute or rock face, riding over a log, through a rough rocky
section, or over wet slippery roots, it is a fact that a rolling
bike is easier to control and keep upright than a bike that is
standing still. Using too much brake or going too slow in certain
sections and conditions will cause your bike to hang up or slide
out. If you are going down a trail and your front wheel gets hung up
on a root or rock the chances are you will flip over the handlebar.
Likewise, when you are going through wet angled roots or down steep
rock faces, if you go too slow or use too much brake, your bike will
slide or shoot out from underneath you. By letting your bike roll
through or over obstacles, you are allowing the bike to do what it
is designed to do, the trick is not going too fast, too slow, or
using too much brake.
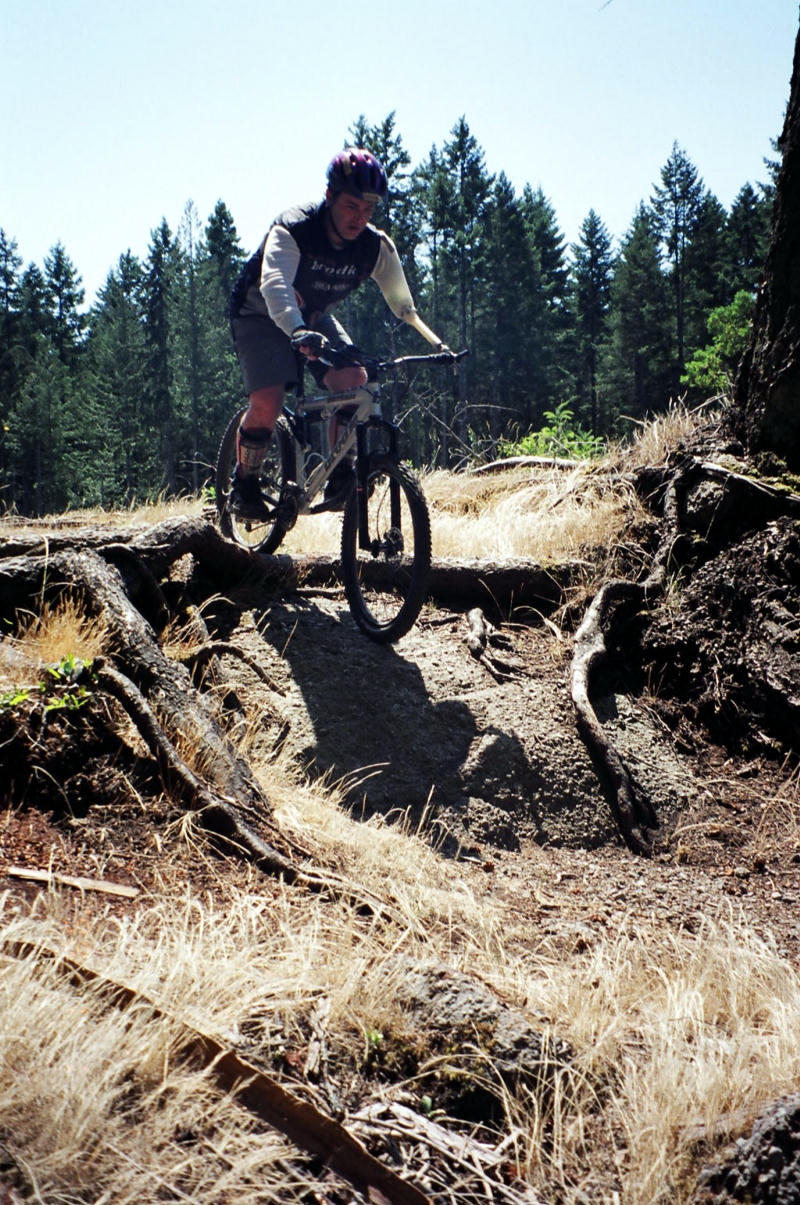
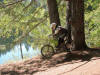
Click On Pictures To Enlarge.


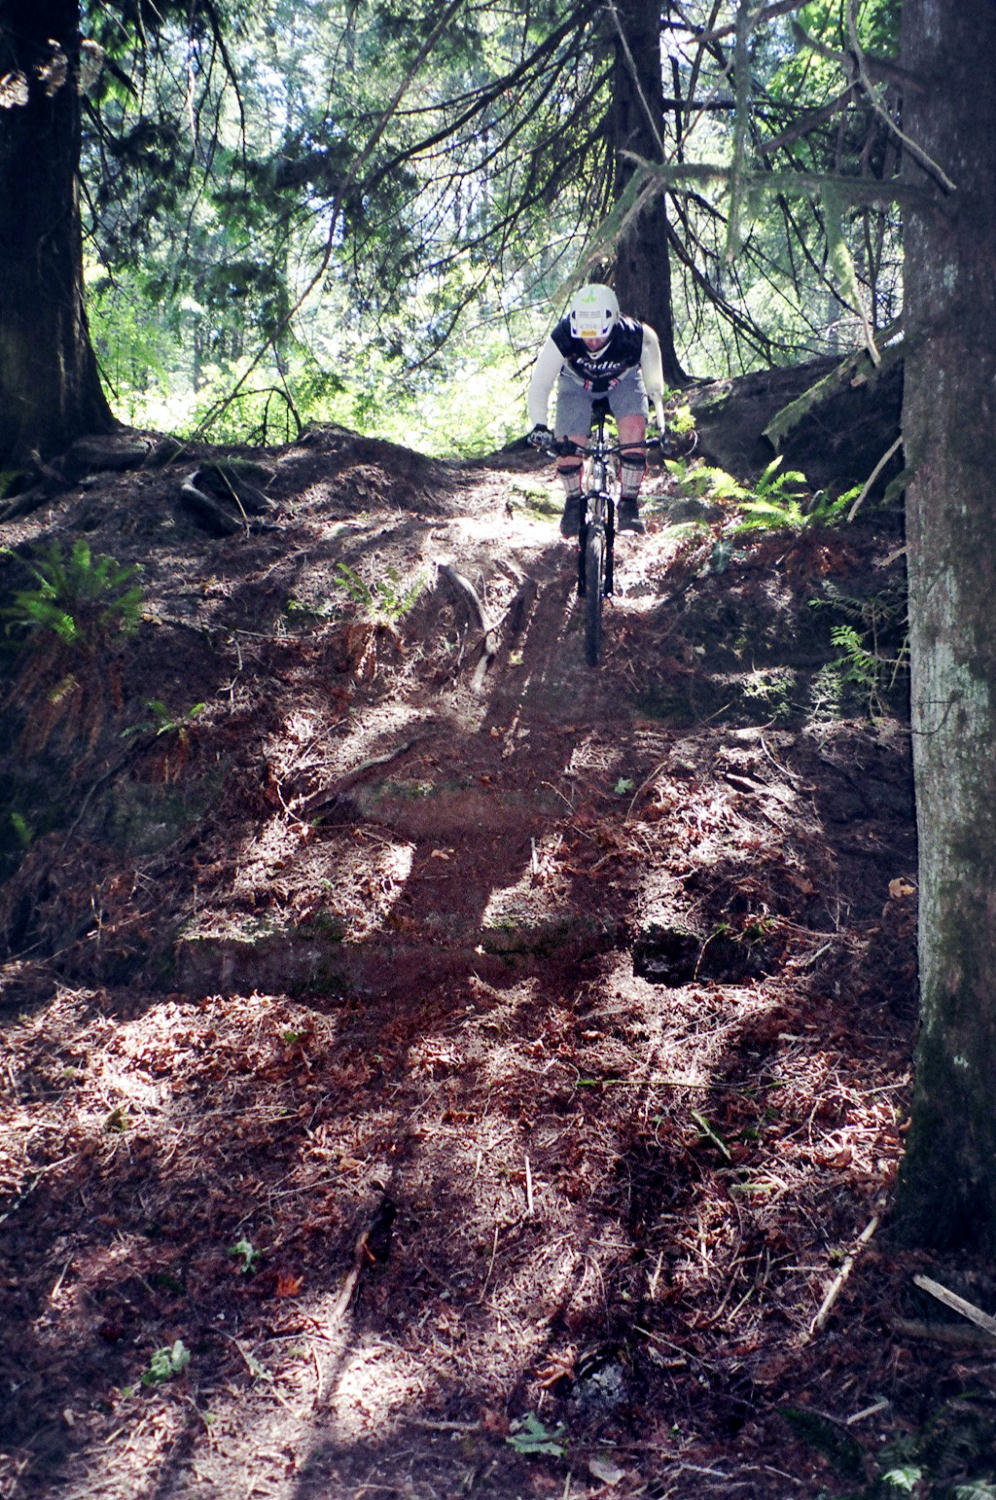
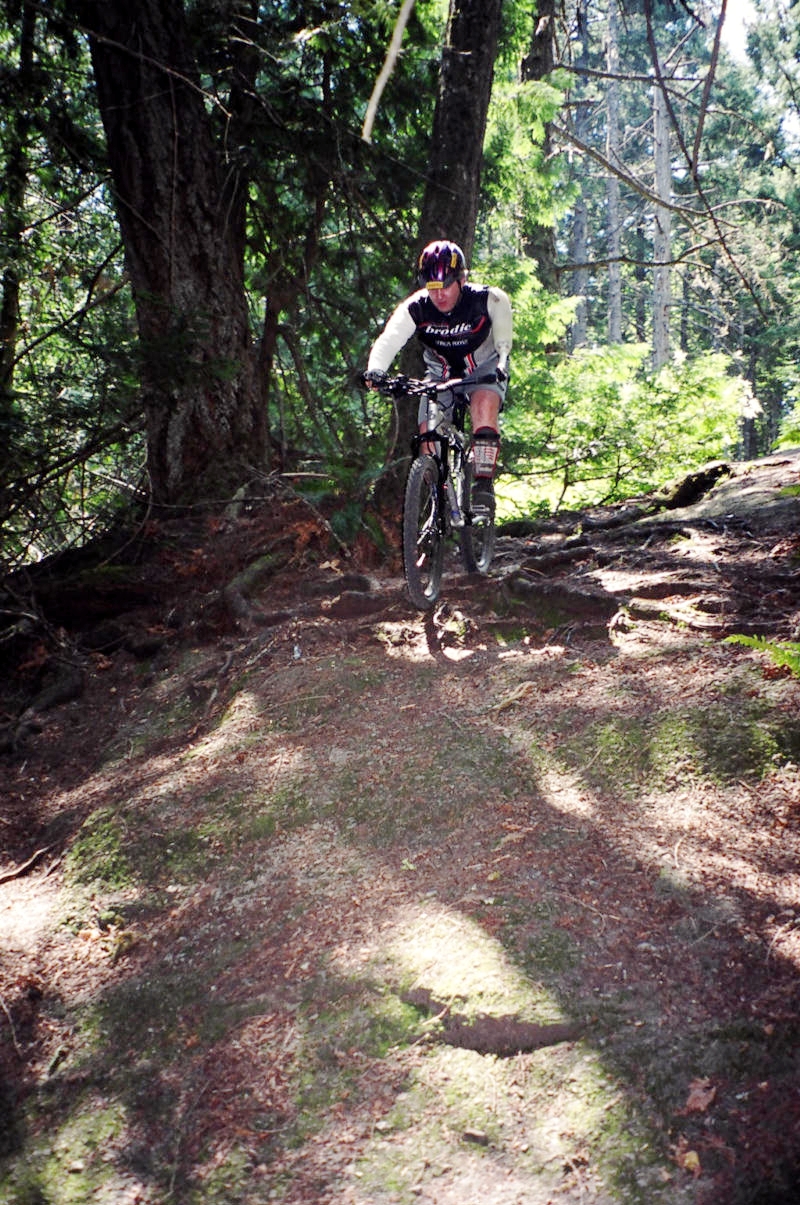
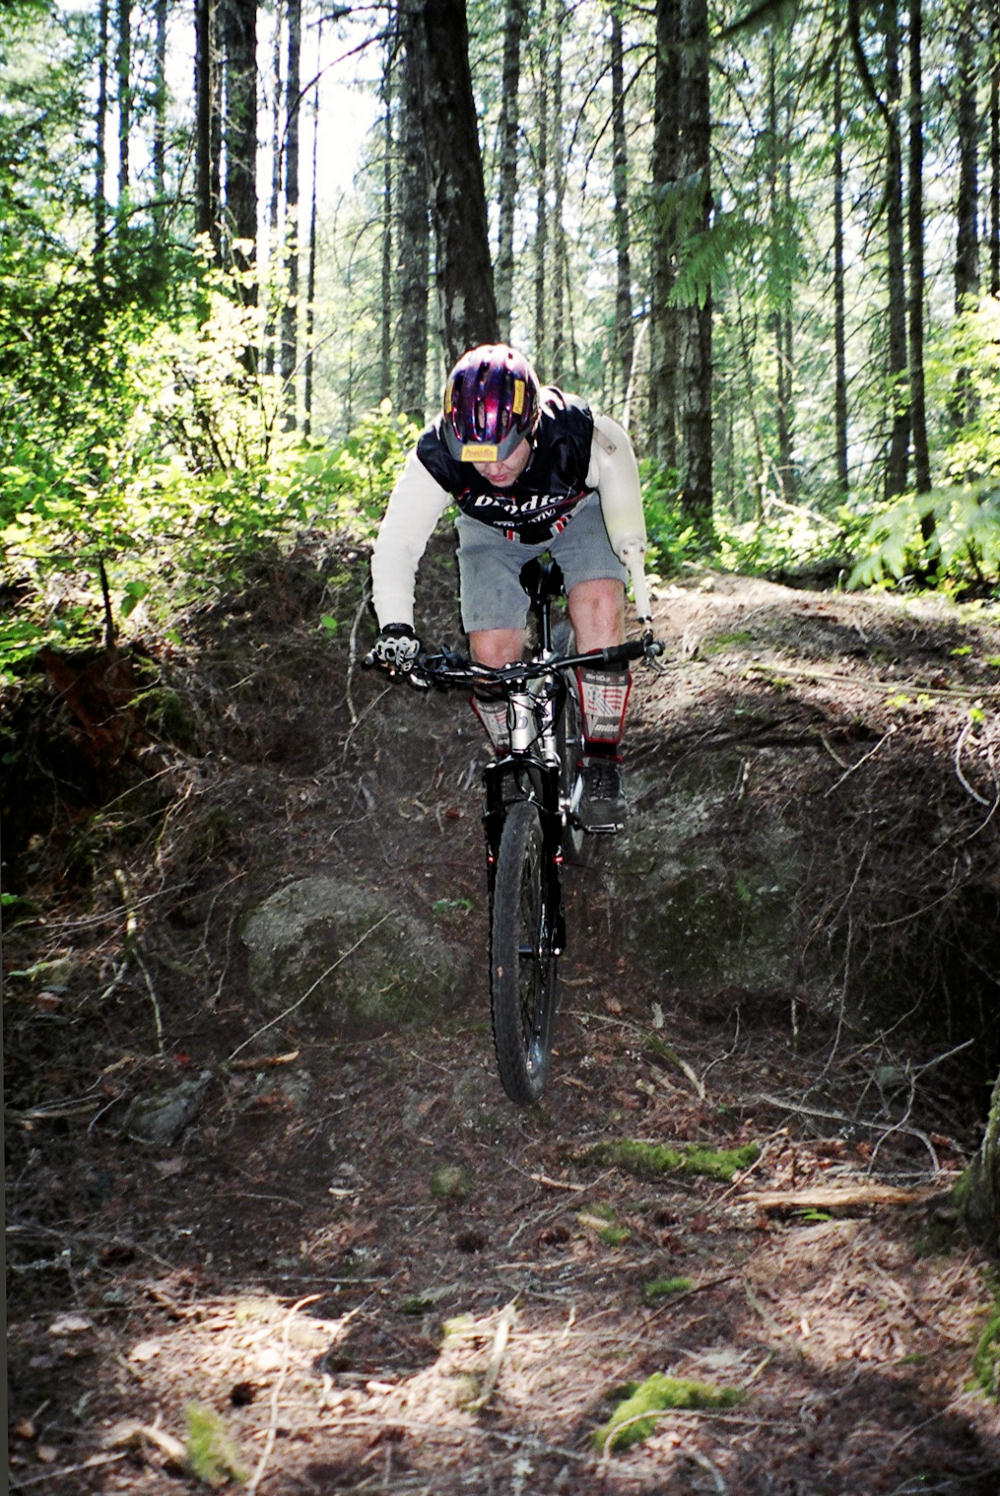
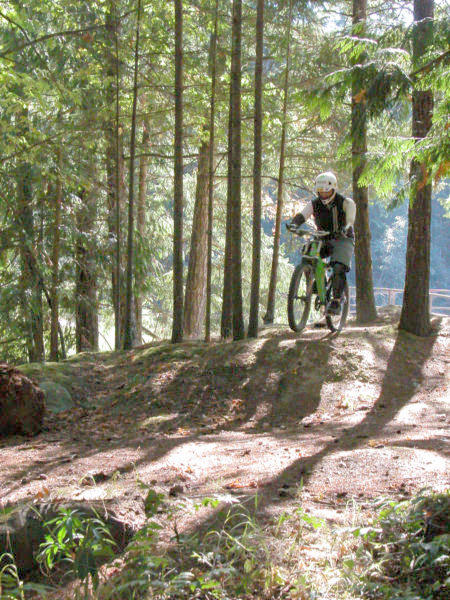
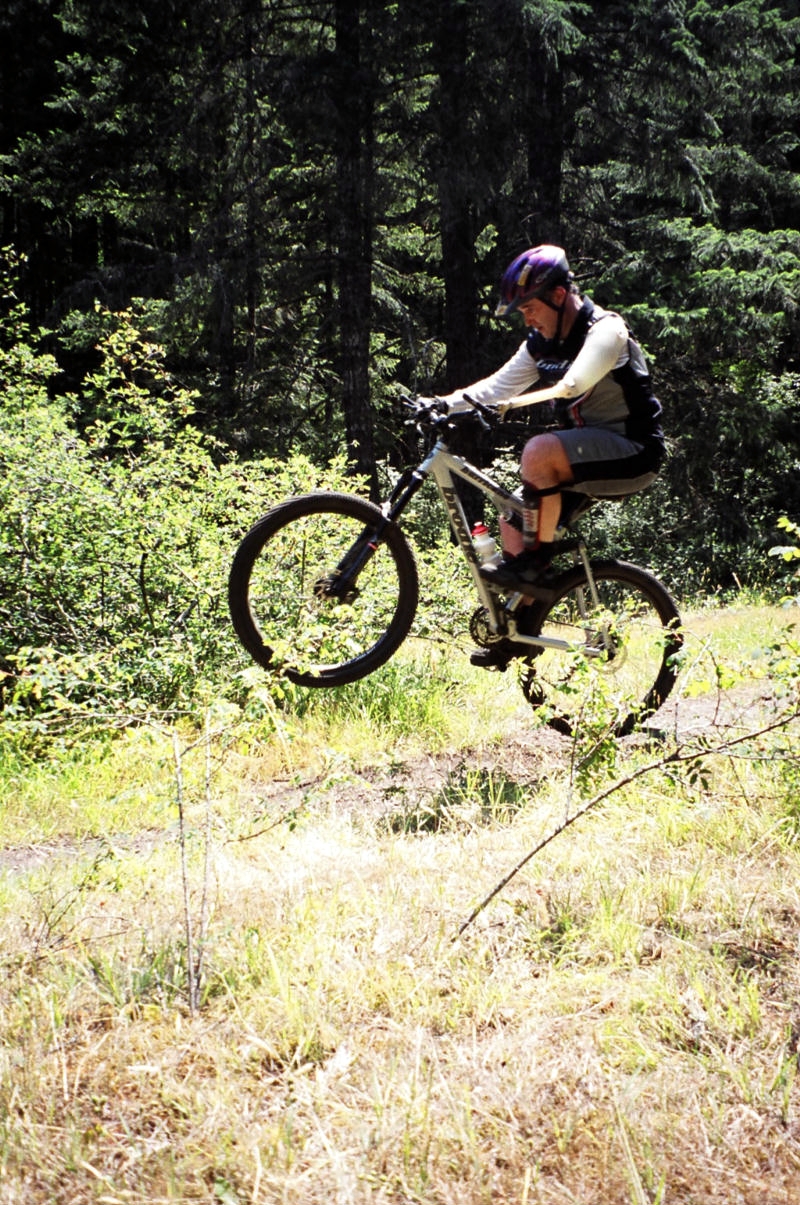
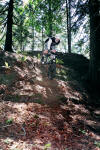
The most critical example of "MO is your
friend" is while attempting wheel drops. If your approach
doesn't allow you to carry any speed or momentum or you require
precision placement on your landing, you will have to pedal off the
ledge maintaining a small wheelie. If at any time you stop pedalling
or hit the brakes before your rear wheel reaches or clears the
ledge, your front end will come down in a nose dive. It is critical
that you maintain your momentum until your bike or rear wheel clears
the ledge.


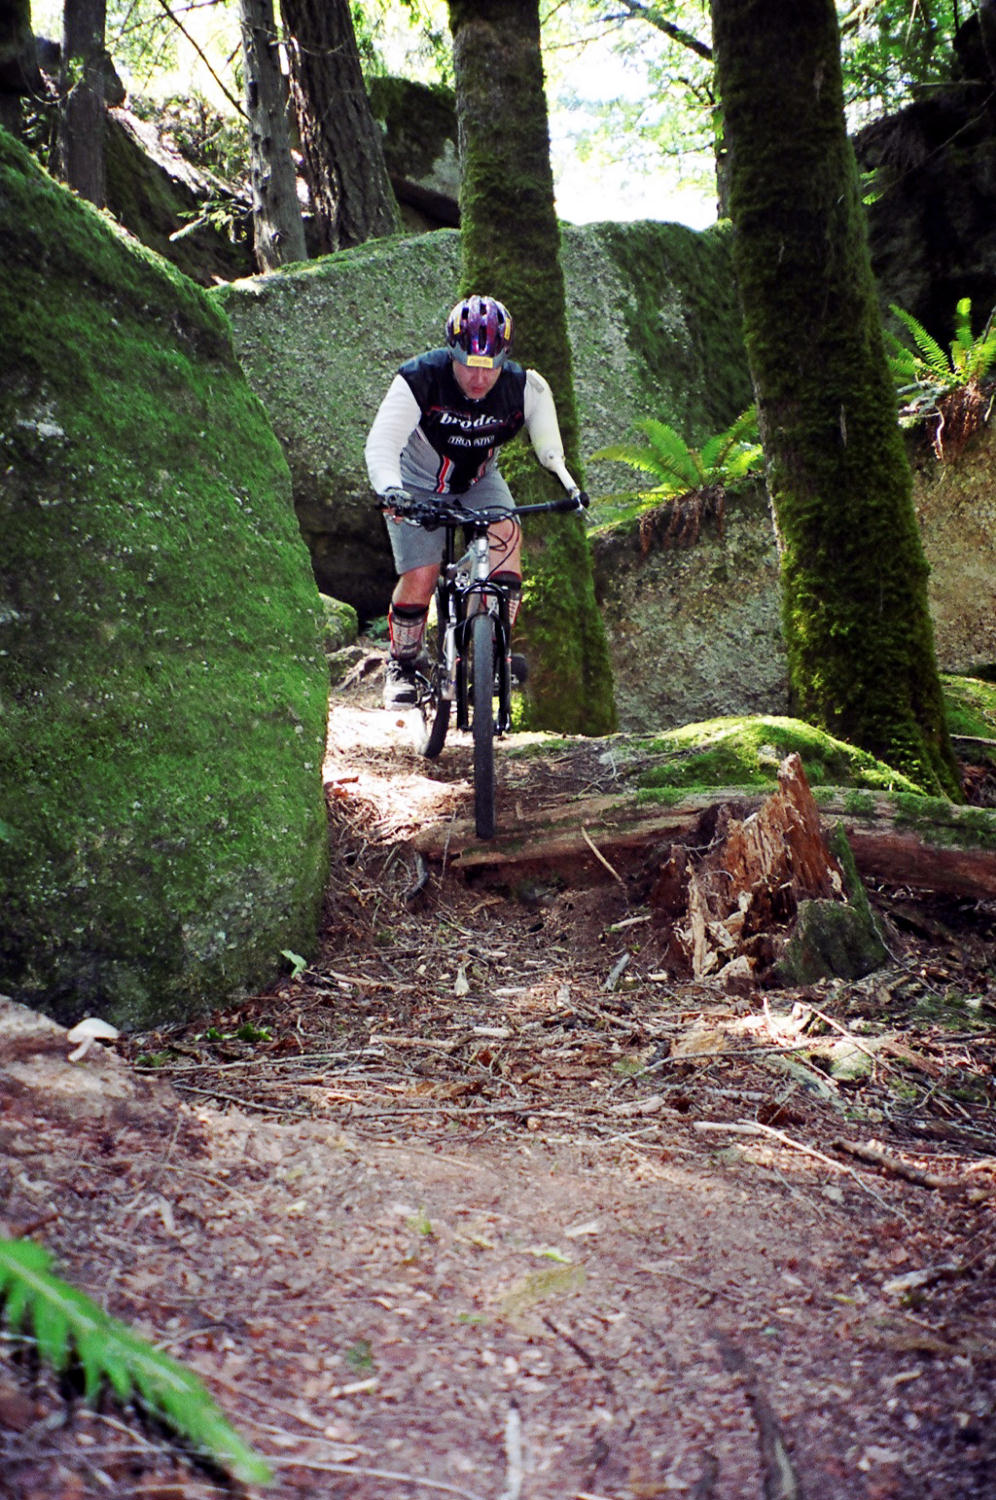
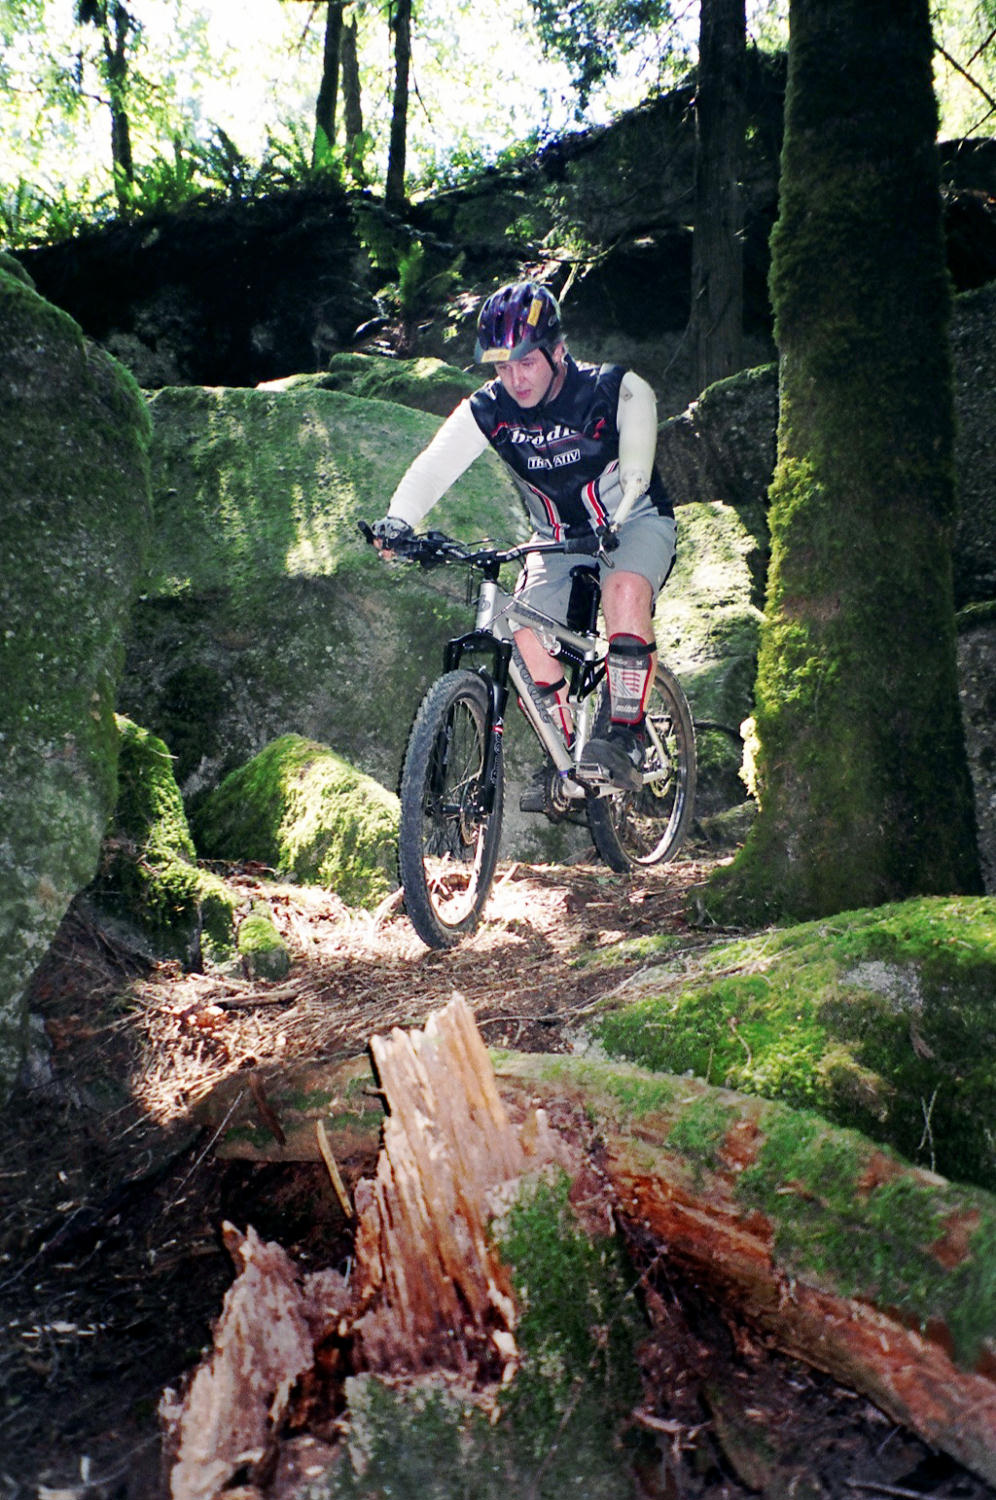
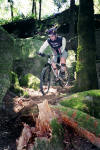
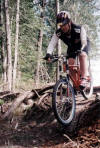
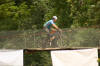
Another example of "MO is your friend" is
while riding over logs. In order to ride over logs you have to be
able to pull or pop a small wheelie at least 60 to 70% of the height
of the log. By pulling the front wheel off the ground (60-70% of log
height) approximately one or two feet before the log, your front
wheel will naturally roll over the top of the log. If you are going
over large logs and are unsure or unstable, simply put out one leg/foot
on the log
as a stabilizer (be careful your foot doesn't slide out). Also remember to shift your weight slightly
backwards while going down the back side of the log to counteract
the tendency to flip over the bars.
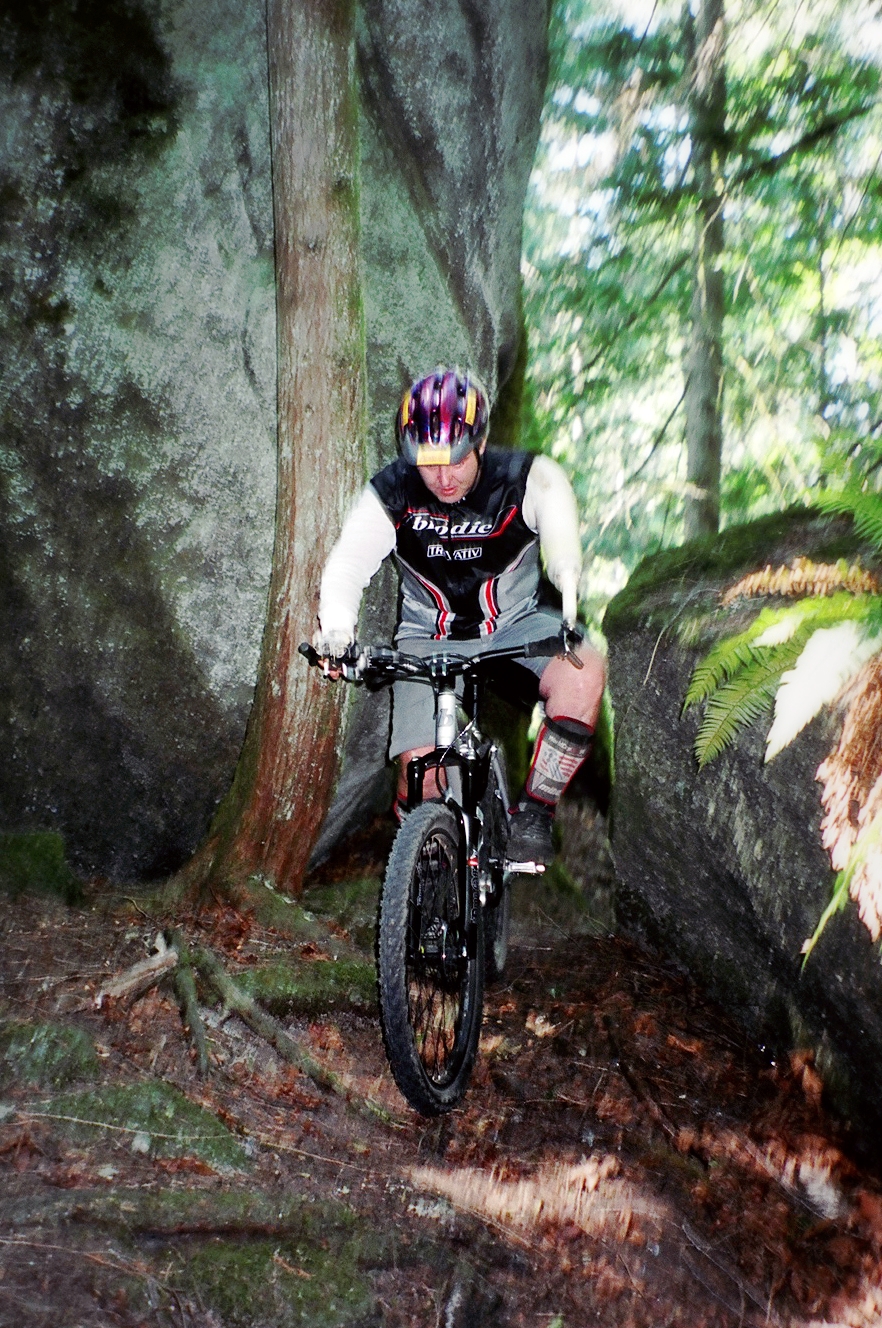
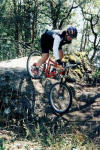
A quick tip about riding logs and roots is to
always try, whenever possible, to square off the angles and hit all
obstacles on a T.
Obviously, the key to controlling your speed and
momentum is in braking. To control your momentum you have to learn
to modulate or adjust the amount of pressure you apply to both front
& back brakes. Before you start, you have to know the following
facts. The front brake provides the majority of your stopping power
and is your main source of slowing down. The rear brake is more of a
set up and control tool that allows you to slide out the rear end of
the bike in a controlled manner. When properly modulating your
brakes through technical sections or down steeps, you never lock up
the front brake while the rear brake can be periodically locked and
unlocked in a controlled manner. A little mental note or tip for
using the front brake is "don't squeeze, squeegee the
brakes".
If you are new to the sport of mountain biking, I
suggest you try the following brake exercises on a flat empty
parking lot or field.
Ride a straight line (not too fast) and apply the
rear brake only. Do this several times applying different amounts of
pressure. You will notice if you stay relatively upright, you will
stay in a straight line, but if you lean or shift your weight to one
side of the bike, the rear end will want to slide out to the
opposite side. To stop the back end from sliding, simply release or
unlock the brake.
Now ride a straight line gently applying the front
brake only. You will notice that the harder you apply the brake, the
greater the tendency to pitch you over the bars. To counteract this
tendency, simply shift your weight backwards. You will also
notice how quickly the front brake will slow you down with little
pressure on the brake leaver. The thing to remember is not to lock
up or use too much front brake. Please note that the tendency to
pitch you forward or over the bars is magnified by speed, the steepness of
the trail, as well as going down the back side of obstacles such as
logs.
Now ride a straight line using both front and rear
brakes. Once you are confident you can slow down and stop in
control, go have some fun in the trails, but don't be afraid to stop
and walk you bike through or around any obstacles or terrain that
you are not confident or comfortable with.
Click On Pictures To Enlarge.


0==0==0==0==0
For more general mountain bike riding tips you
can visit the following websites:
0==0==0==0==0
If you are a new or beginner mountain biker or
cyclist, I would highly recommend starting with flat (BMX Style)
pedals and flat sole (Skateboard style) shoes.
Once you are comfortable with getting on and
off your bike, you can add toe clips or
power grip
straps to one or both pedals. You can also go to a clipless
pedal/shoe system or mix and match different pedals/shoes
depending on your preferences or needs.
0==0==0==0==0
I would like to offer the following tips to anyone
suffering from a weak or diminished grip, and that is, to use
hydraulic disc brakes and Shimano Rapid Fire shifters. Hydraulic
brakes offer one finger stopping power while the Shimano Rapid Fire
shifters are the most ergonomic friendly and easy to operate.
The following arm amputee tips were submitted by William
Craig, who is featured on the
Arm Amputee
Page. These tips are not only useful to arm amputees but to
anyone suffering from a weak or diminished grip or anyone new to
the sport of mountain biking.
1)Invest in fully hydraulic disc brakes. They are
worth the extra money. The Hope brakes work particularly
well as the levers are more compact.
2)If you are new to the sport, start with platform pedals.
It is one less thing to worry about releasing from in the
event of a crash.
3)If you are an above elbow amputee, consider angling your
forearm more outboard. It will make it easier to turn to
that side.
4)Use the widest riser bar you can find. It will
provide better steering control and handling because you have
more leverage.
5)Drop the saddle on sustained descents. It
makes it easier to shift your weight around.
6)Elbow angle is very dependent on the
terrain you will be primarily riding. If you are doing
mainly downhill, consider setting the elbow in a more extended
position, and suffer a little more on the climb.
7)Do not ride with an elbow unit that will
not allow you to lock out side to side rotation. If your
elbow decides to rotate in or out on you while you are riding,
you are headed over the bars.
8)Ride a bigger front tire. The weight penalty
is worth it. This will beef up the whole front end of
the bike, and allow you to roll over obstacles more easily.
9)Allowing your prosthesis to rotate around the bars will
give you more freedom to move around.
0==0==0==0==0
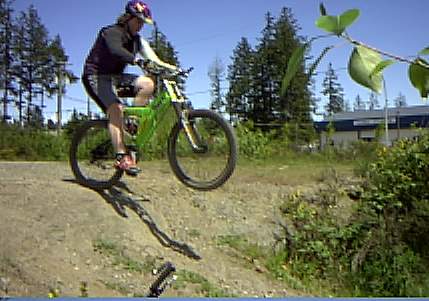
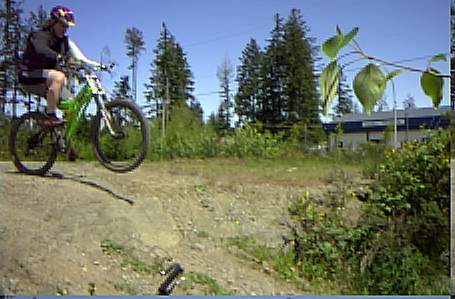
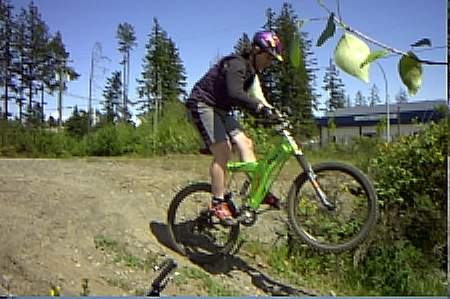
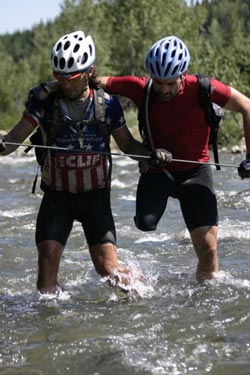
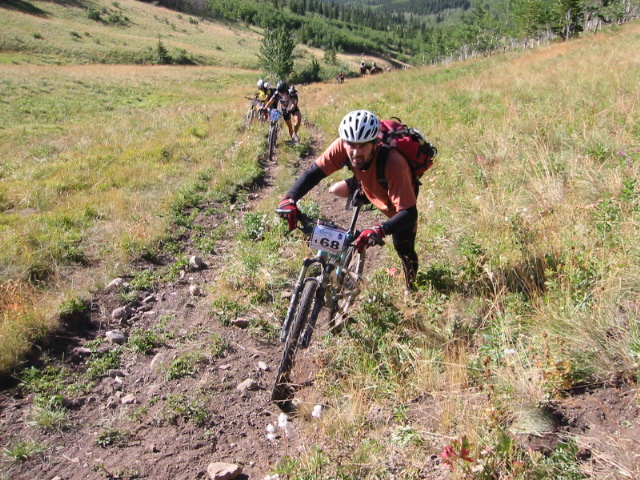
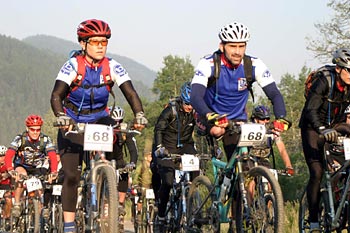
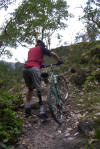
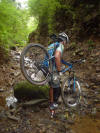
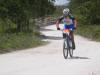
The following tips and pictures were submitted by Brett
Wolfe, who is a professional long distance endurance racer and
an above right knee amputee featured on the
Leg
Amputee page.
Here in part, is what Brett has to say: I use slightly lower drive train than normal to allow me to spin around 85-95 revolutions when sitting on 14-16% grade for long periods of time. My road racing bike even has a triple, just need the ability to be easy on the knee. It should allow me to pedal for years to come.
Fit is critical. If investing in new or used bike take your time, even more important to an individual who is missing limbs, the stress that you put on your body is compounded. If you set up wrong it will not be
a fun experience and will shorten your desire to be on the bike. A simple example would be demonstrated with a missing leg, obviously puts more stress on your wrists so be ready for strengthening your upper body for cycling, or relieving the pressure depending on your aspirations.
Most important are Torso strength and Cardio vascular fitness of course.
I sit on the residual leg, not centered. It takes more initial strength but in the long run it pays dividends for comfort, and flexibility to maneuver the bike. ( also will depend on how much residual limb is left.)
Pedals I use are TIME for both road and Mtn. They offer the most flexibility when moving around on top of the bike and keeping my joints from becoming prematurely fatigued.
Click on pictures to enlarge.

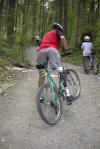
The following pictures of Brett were taken at
the 2004 Trans Rockies Challenge.

0==0==0==0==0
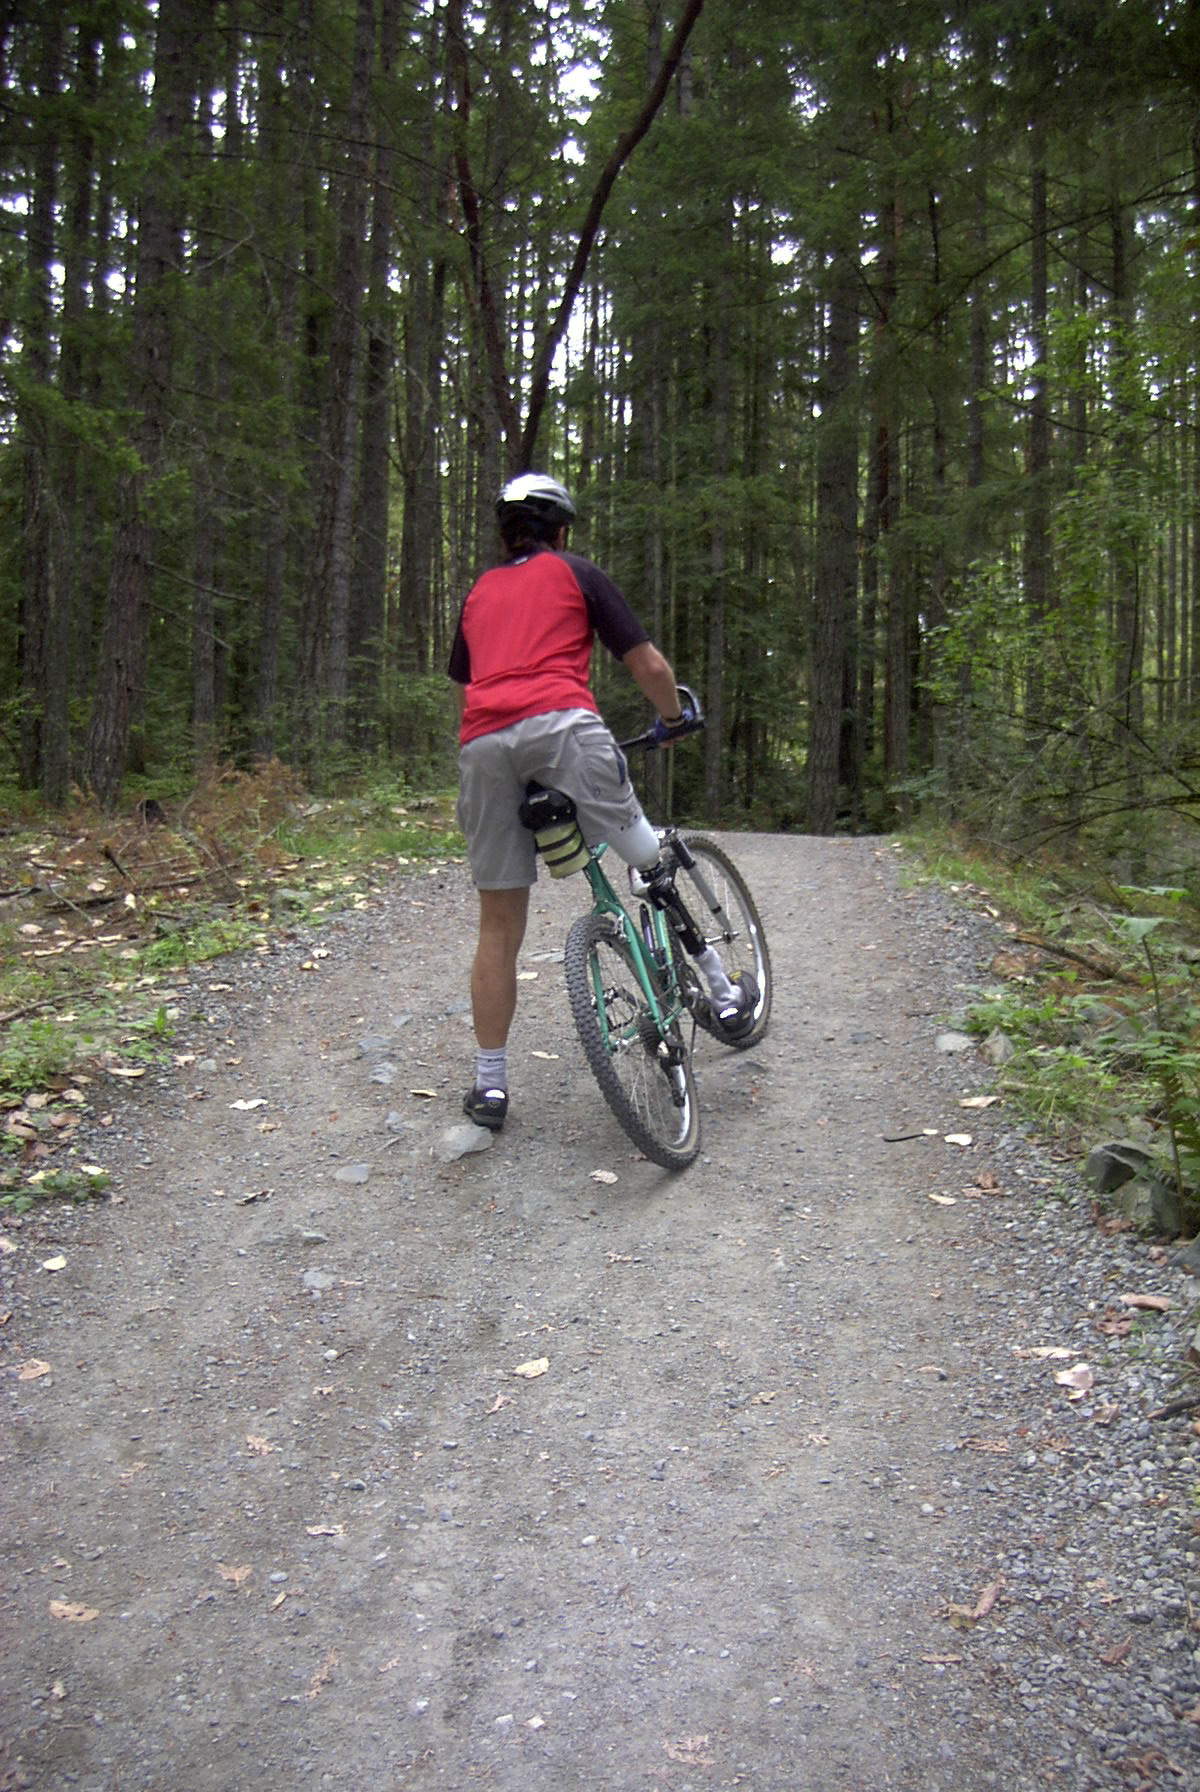
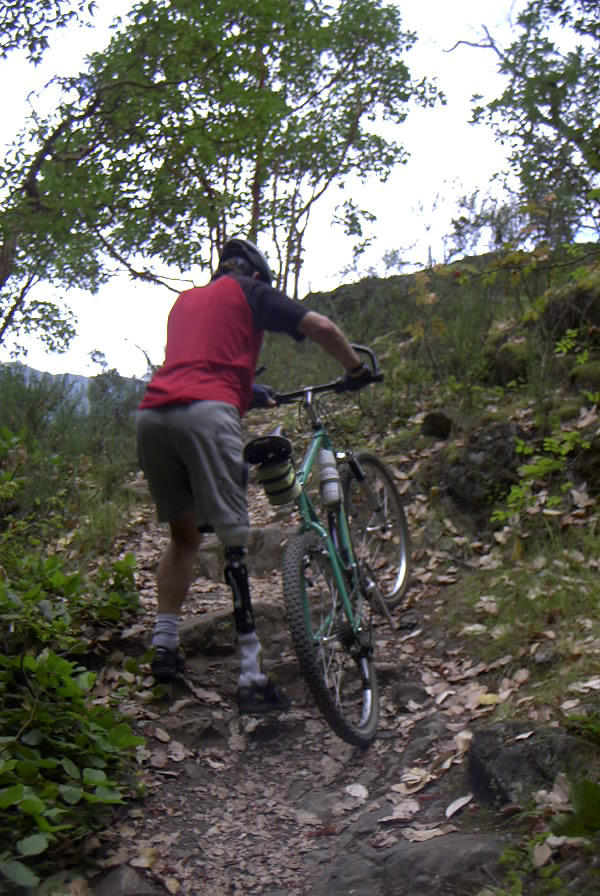
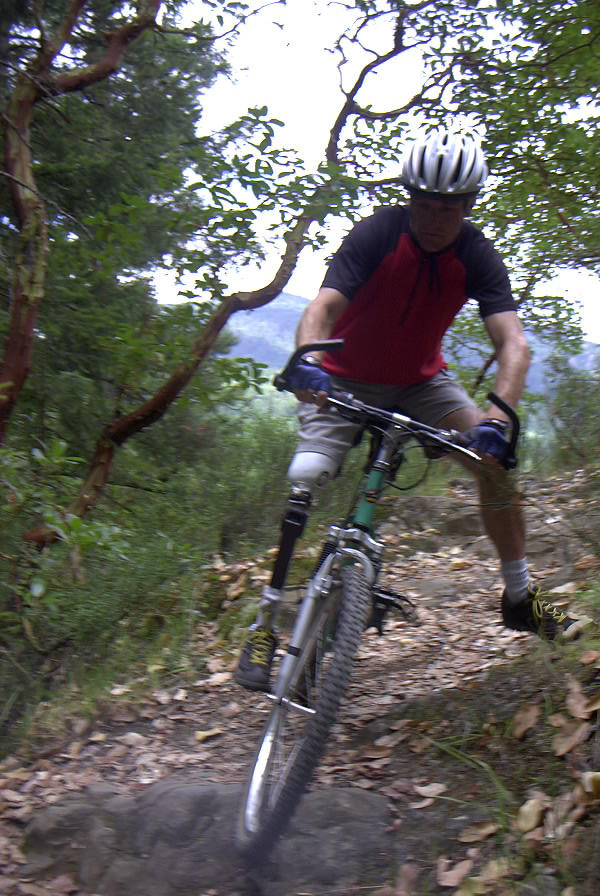
The following above knee amputee mountain
bike riding tips & Pictures were contributed by Steve
Middleton who is featured on the
Leg
Amputee page.
Starting with seat height and position, Steve
suggests that you ride with a slightly lower than normal seat
height to allow you to put your foot, or at least part of your
foot, on the ground while your bike is in the upright
position. Although some AK amputees prefer to slightly angle
their seats toward their prosthetic leg, Steve prefers riding with
the nose of the saddle pointing straight.
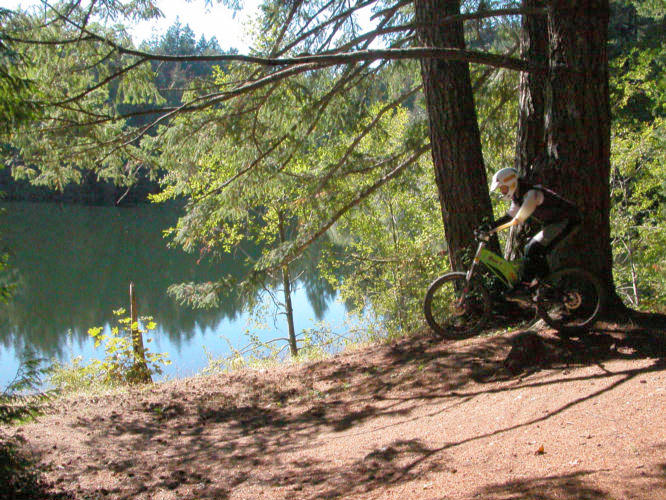
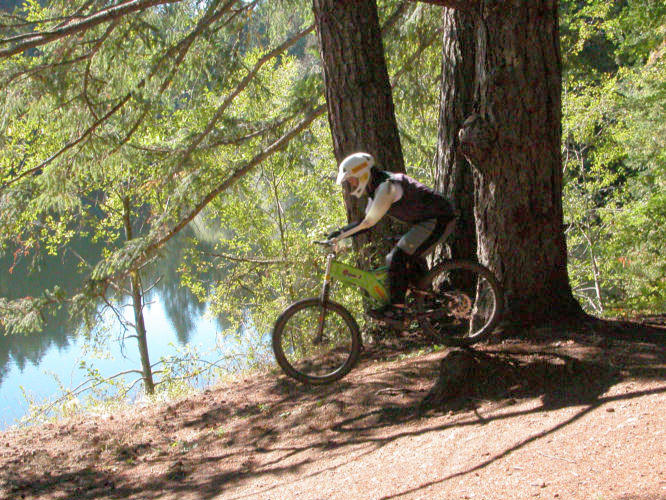
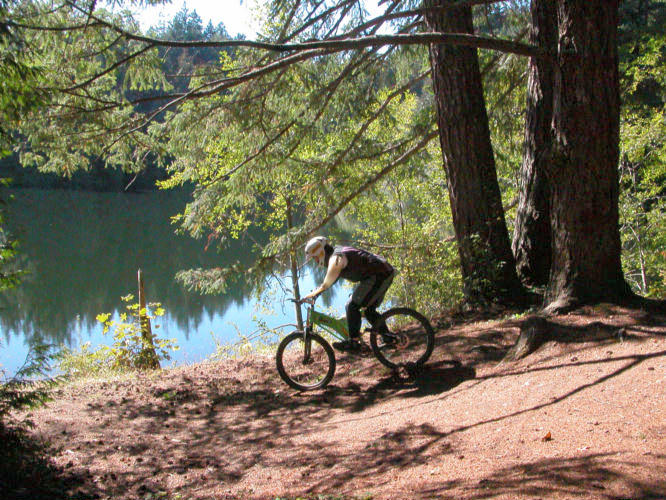
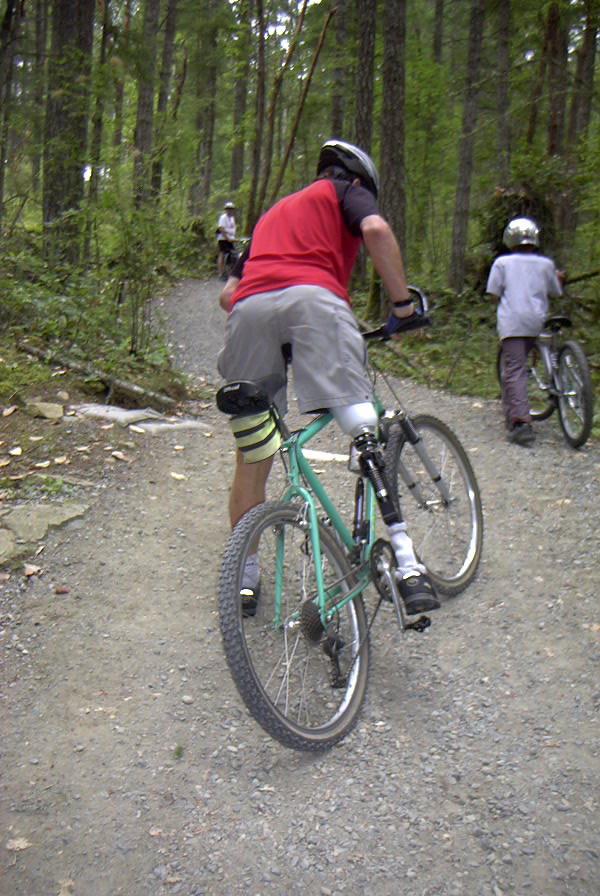
When it comes to mounting and dismounting,
Steve recommends that you lean the bike on an angle towards
your good leg, making it easier to swing your prosthetic leg
over the rear tire. Don't be afraid to use trees or other
objects to assist you on getting started.
Click on pictures to enlarge.


When it comes to pedals and footwear, Steve
uses a combination of a clipless shoe & pedal for his
prosthetic leg while using a old fashioned toe clip for his
good leg. For beginners, Steve suggests using a toe clip for
your prosthetic leg ( set the strap as snug as possible to
hold your foot in place ) with a flat pedal with no clips for
your good leg. The benefits of using a clipless pedal along
with the toe clip are more power and pedaling efficiency.
You can email Steve at: saam@shaw.ca
or check out his website at: http://morethanmobility.ca/
for more information on Steve's leg and knee components.
0==0==0==0==0
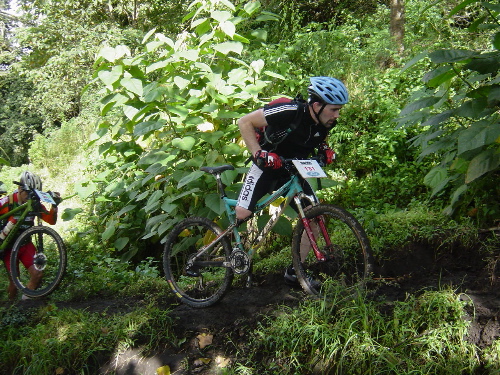
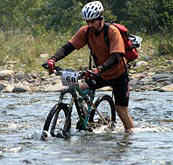
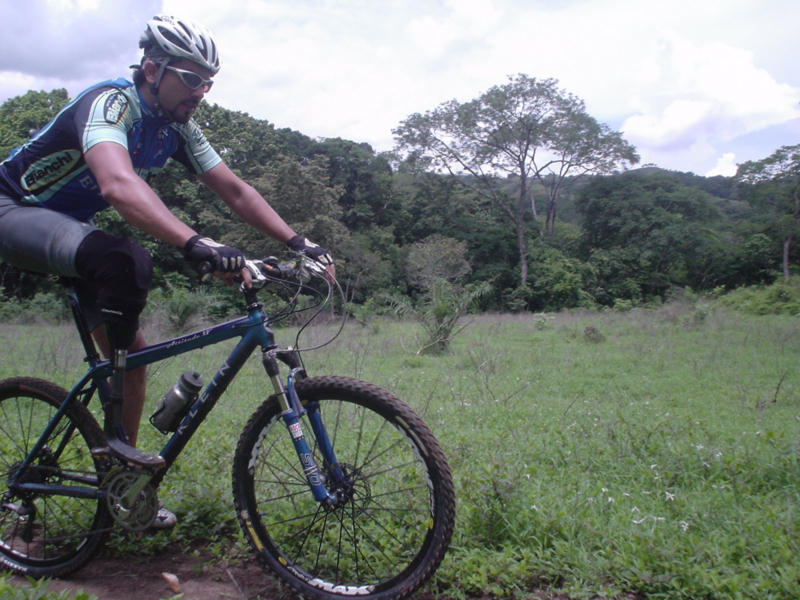
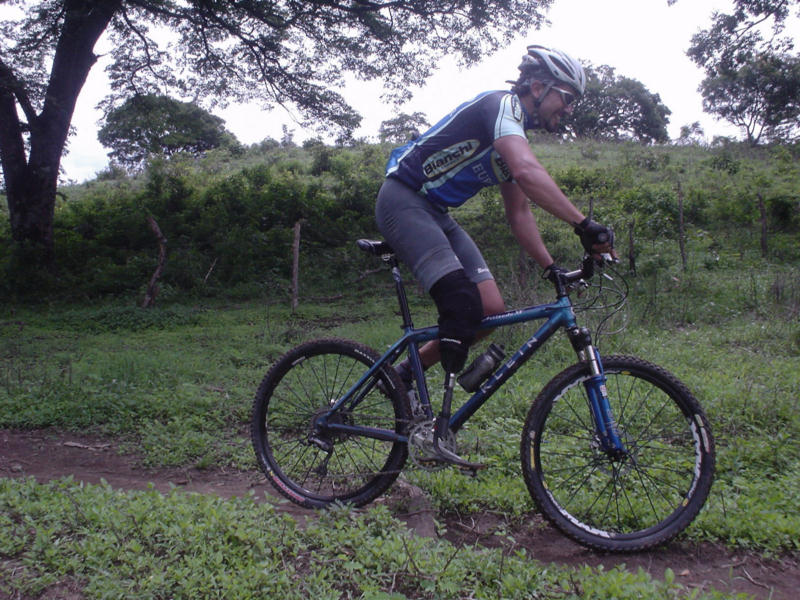
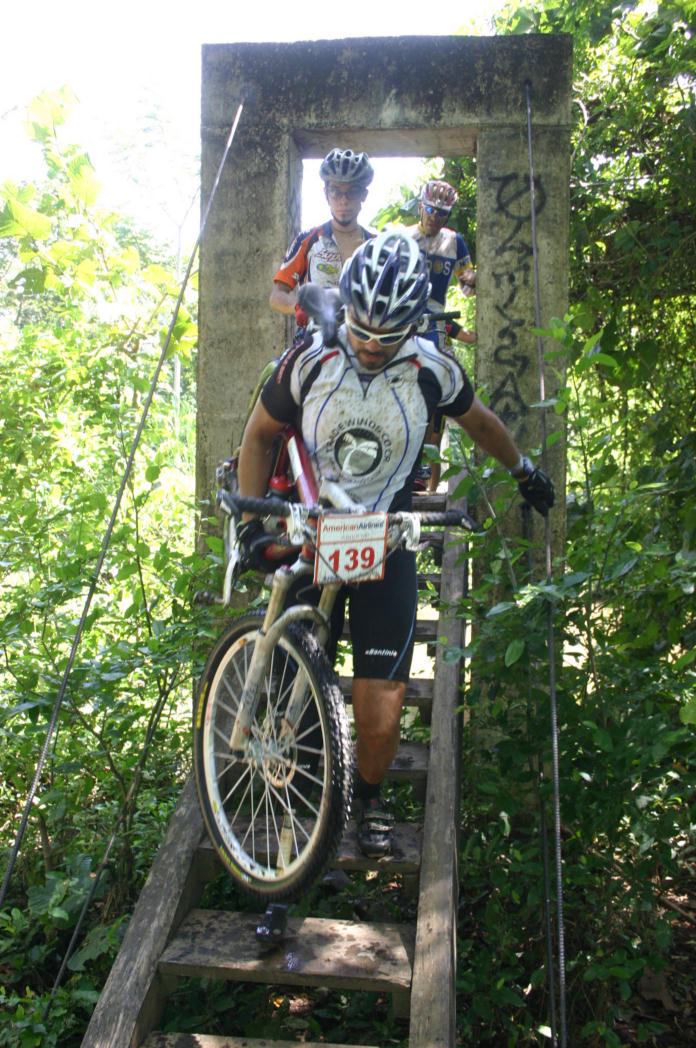
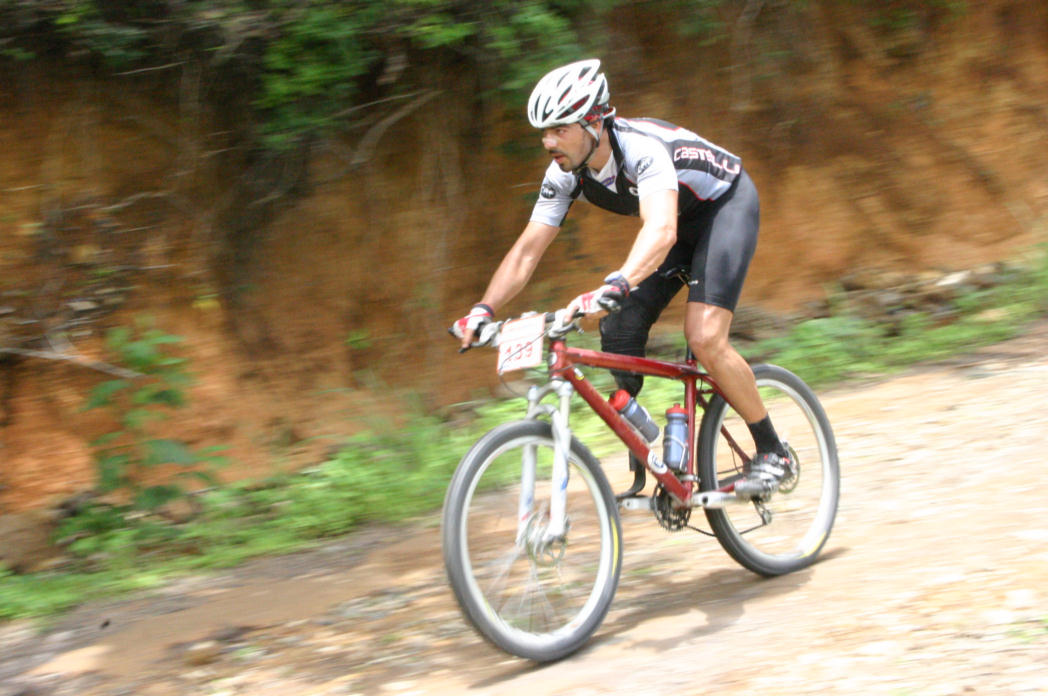
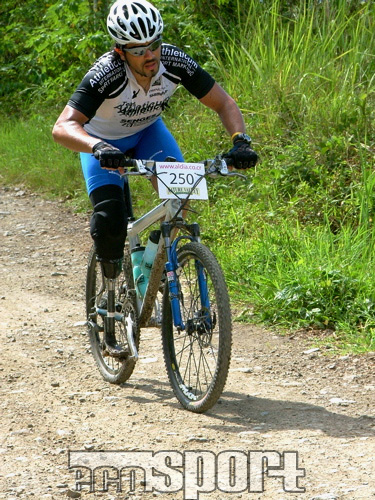
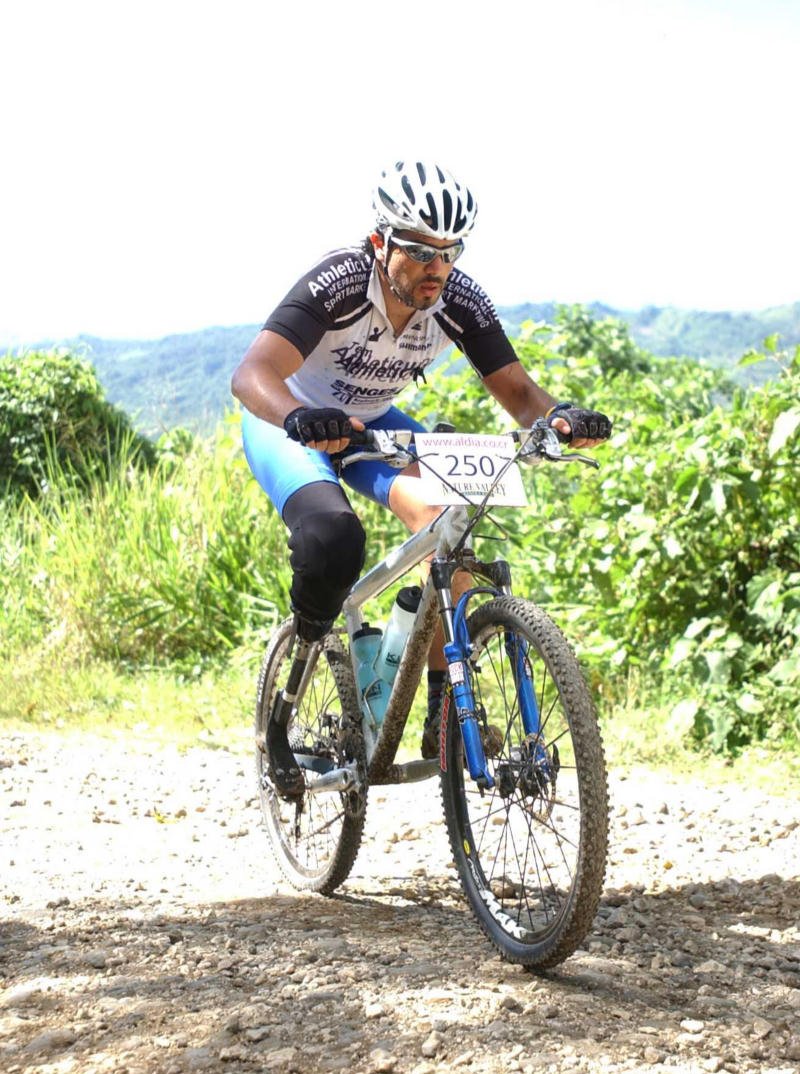
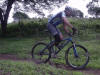
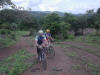
The following photos and riding tips were
contributed by Dax Jaikel who is featured on the
Leg
Amputee page. Here is what Dax has to say:
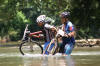
I suggest everybody wearing a prosthetic leg in events lasting more than 1 hour to apply CERTAIN-DRI deodorant to the stump , it will stop 100% perspiration and will allow better grip/suspension to the leg.
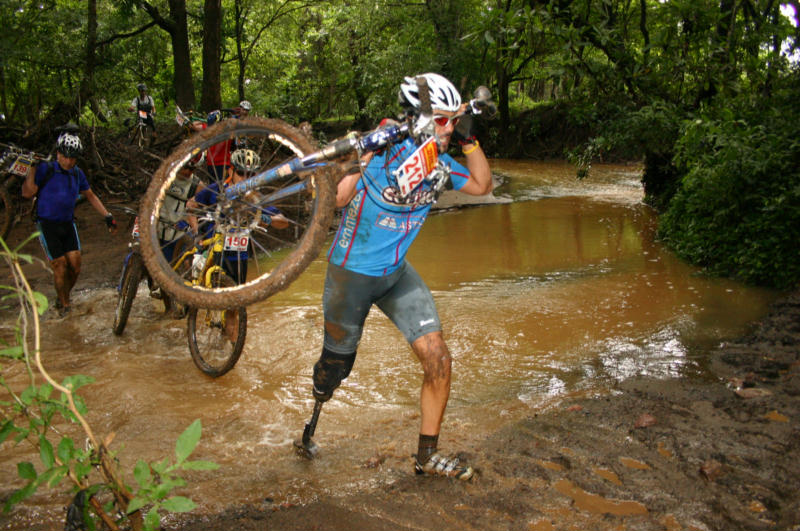
Hike a bike situations. try to make them with the bike at your side not on you, the weight will be hard to carry, but if balance yourself with the bike , WHEN POSSIBLE of course it will be much easier. after you end your hike a bike try to
accommodate your prosthetic leg as it might have become lose and you do not want nay blisters bothering you for 5 hours !!!
When training, try to push hard with your sound leg, you have to use it, otherwise you will overload your other leg and cramps will come within hours.
Also, I add 1cm of height to my prosthetic leg compared to my other leg, almost everybody pushes with the front part of the foot and as we can not do it, we must have extra length on the other.
1cm worked perfect for me !!!
Also the hike a bike situations on very steep hills must be done only with the front part of the foot it will allow you to push harder each step.
I wear a knee warmer / converter over my knee and prosthetic leg, that will not allow any mud, sand , little rocks to get slipped into my socket, protection and "looks" it looks cool.
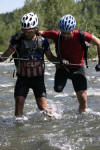
After completing 350km in four days, I learnt a lot from this race, I had to cross rivers ( like 20 or
30, and I am not kidding ), and it did not bother at all my suspension or my liner, it seems to be somehow sealed !!
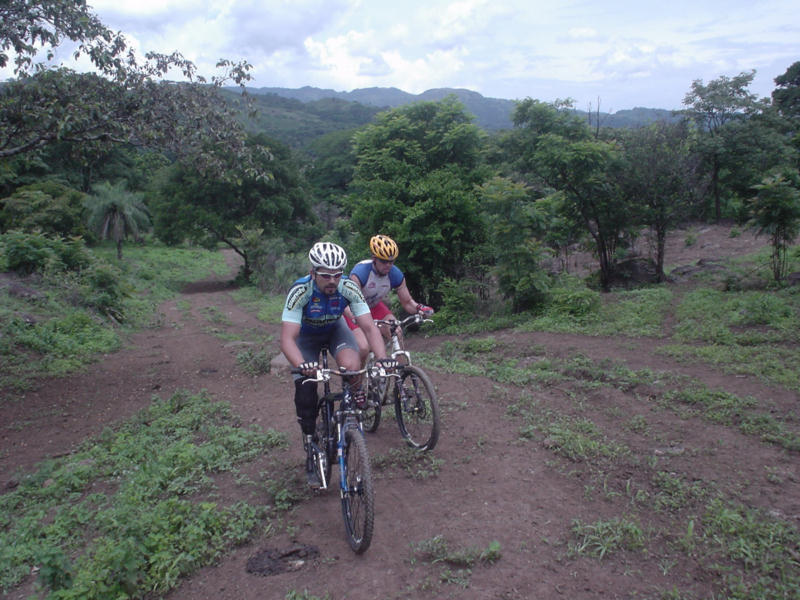
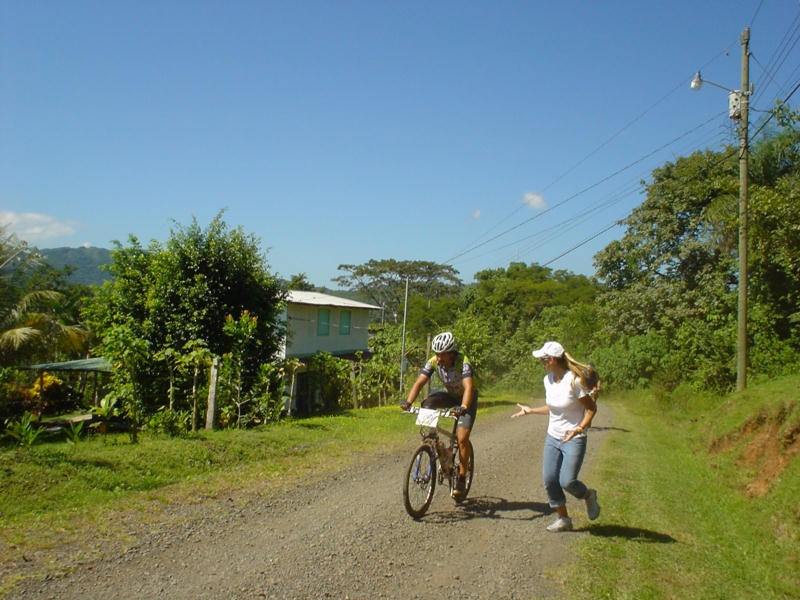
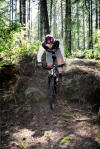
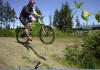
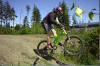
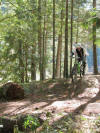
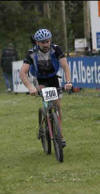
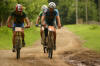
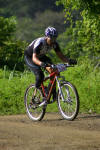
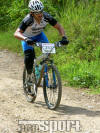
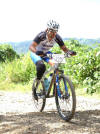
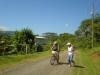
The following pictures of Dax
were taken June 5th on a 4.5 hour, 90km long training ride.
Click on pictures to enlarge.


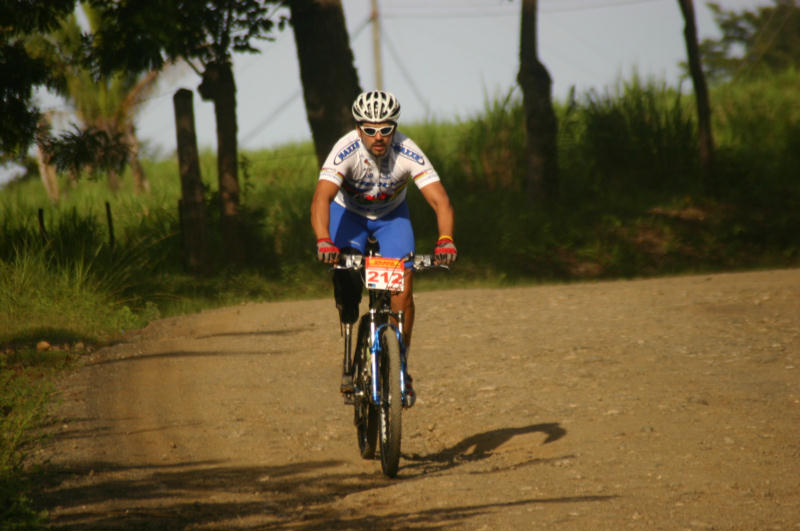
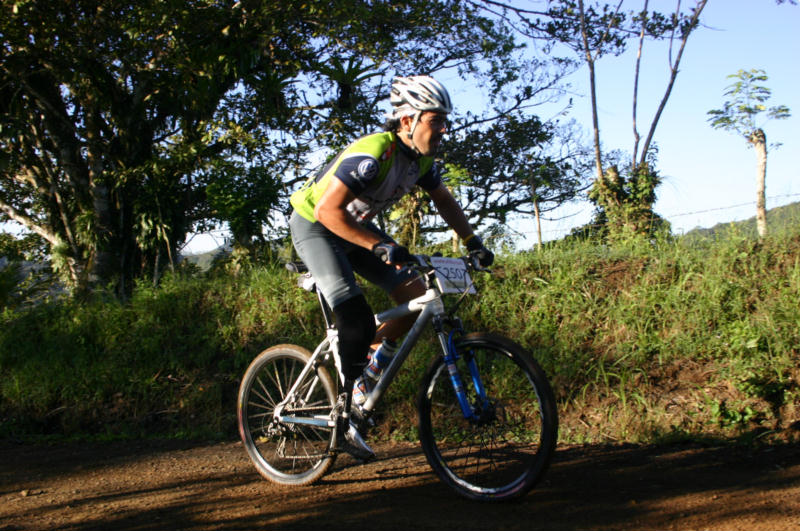
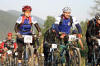
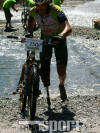
These pictures were taken during the race at
the end of July 2004 where Dax finished 58th out of 160
competitors.
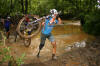

These pictures were taken during the same race,
July 2005 where Dax finished 39th out of 170 competitors.


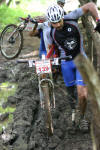
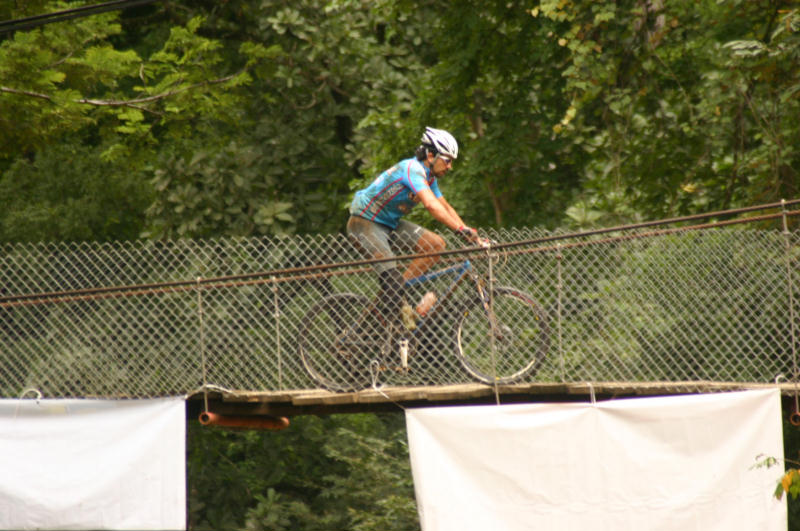
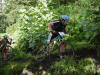
The following pictures were taken during the
2004 La Ruta Los Conquistadores four day endurance race.

0==0==0==0==0
The following Tips for AK amps was
contributed by G.F. Jenkins.
1. Use clip-ins; it's secure and safer.
2. Elbow pads are great, especially on your amp side (for
obvious reasons.)
3. View your climbs as steps, set your eyes on the next
elevation and reward yourself with a quick rest (stay on the
bike) once you're there. Rhythm's key, use your iPod!
4. Practice getting your real foot/ pedal in the 11o'clock
trigger position to be able to apply torque when needed.
5. If you're able, use a separate socket for riding. It
needs to be cut down 2 inches to prevent abrasion.
6. Only use 1 bike and become one with it. Learn to slide
your weight to and fro and move all over the saddle.
7. Slow is where it's at. Learn to go slow and balance the
bike when you're hardly moving.
0==0==0==0==0
The following submission was made by Ricky
Cahill,
After giving lots of advice to various
people regarding leg amputee cycling a couple suggested I
wrote it up as an article. I’ve posted it on a couple of the
mountain bike forums I frequent and wondered if it would be
something you’d want on the webpage as a lot of the stuff I
mention hasn’t been covered on your site. You can see the
article here at
UK MTB
Hope you find it useful
Rikk
0==0==0==0==0
If you would like more mountain biking & cycling tips specifically
for leg amputees, check out the following websites:
Stay tuned for future updates and additions.
|